Phishing simulations
Build realistic simulations in six steps
The builder walks you from settings to launch with no guesswork. Start from one of over 10,431 ready-to-use scenarios or write your own in the live HTML editor — with personalization, test sends, and a post-click action.
Everything a simulation needs to look real
From blank page to ready-to-send campaign — no spreadsheets, no HTML pasted in from somewhere else.
Six-step builder
Settings, email content, landing page, post-click action, recipients and review — a clear path from idea to launch.
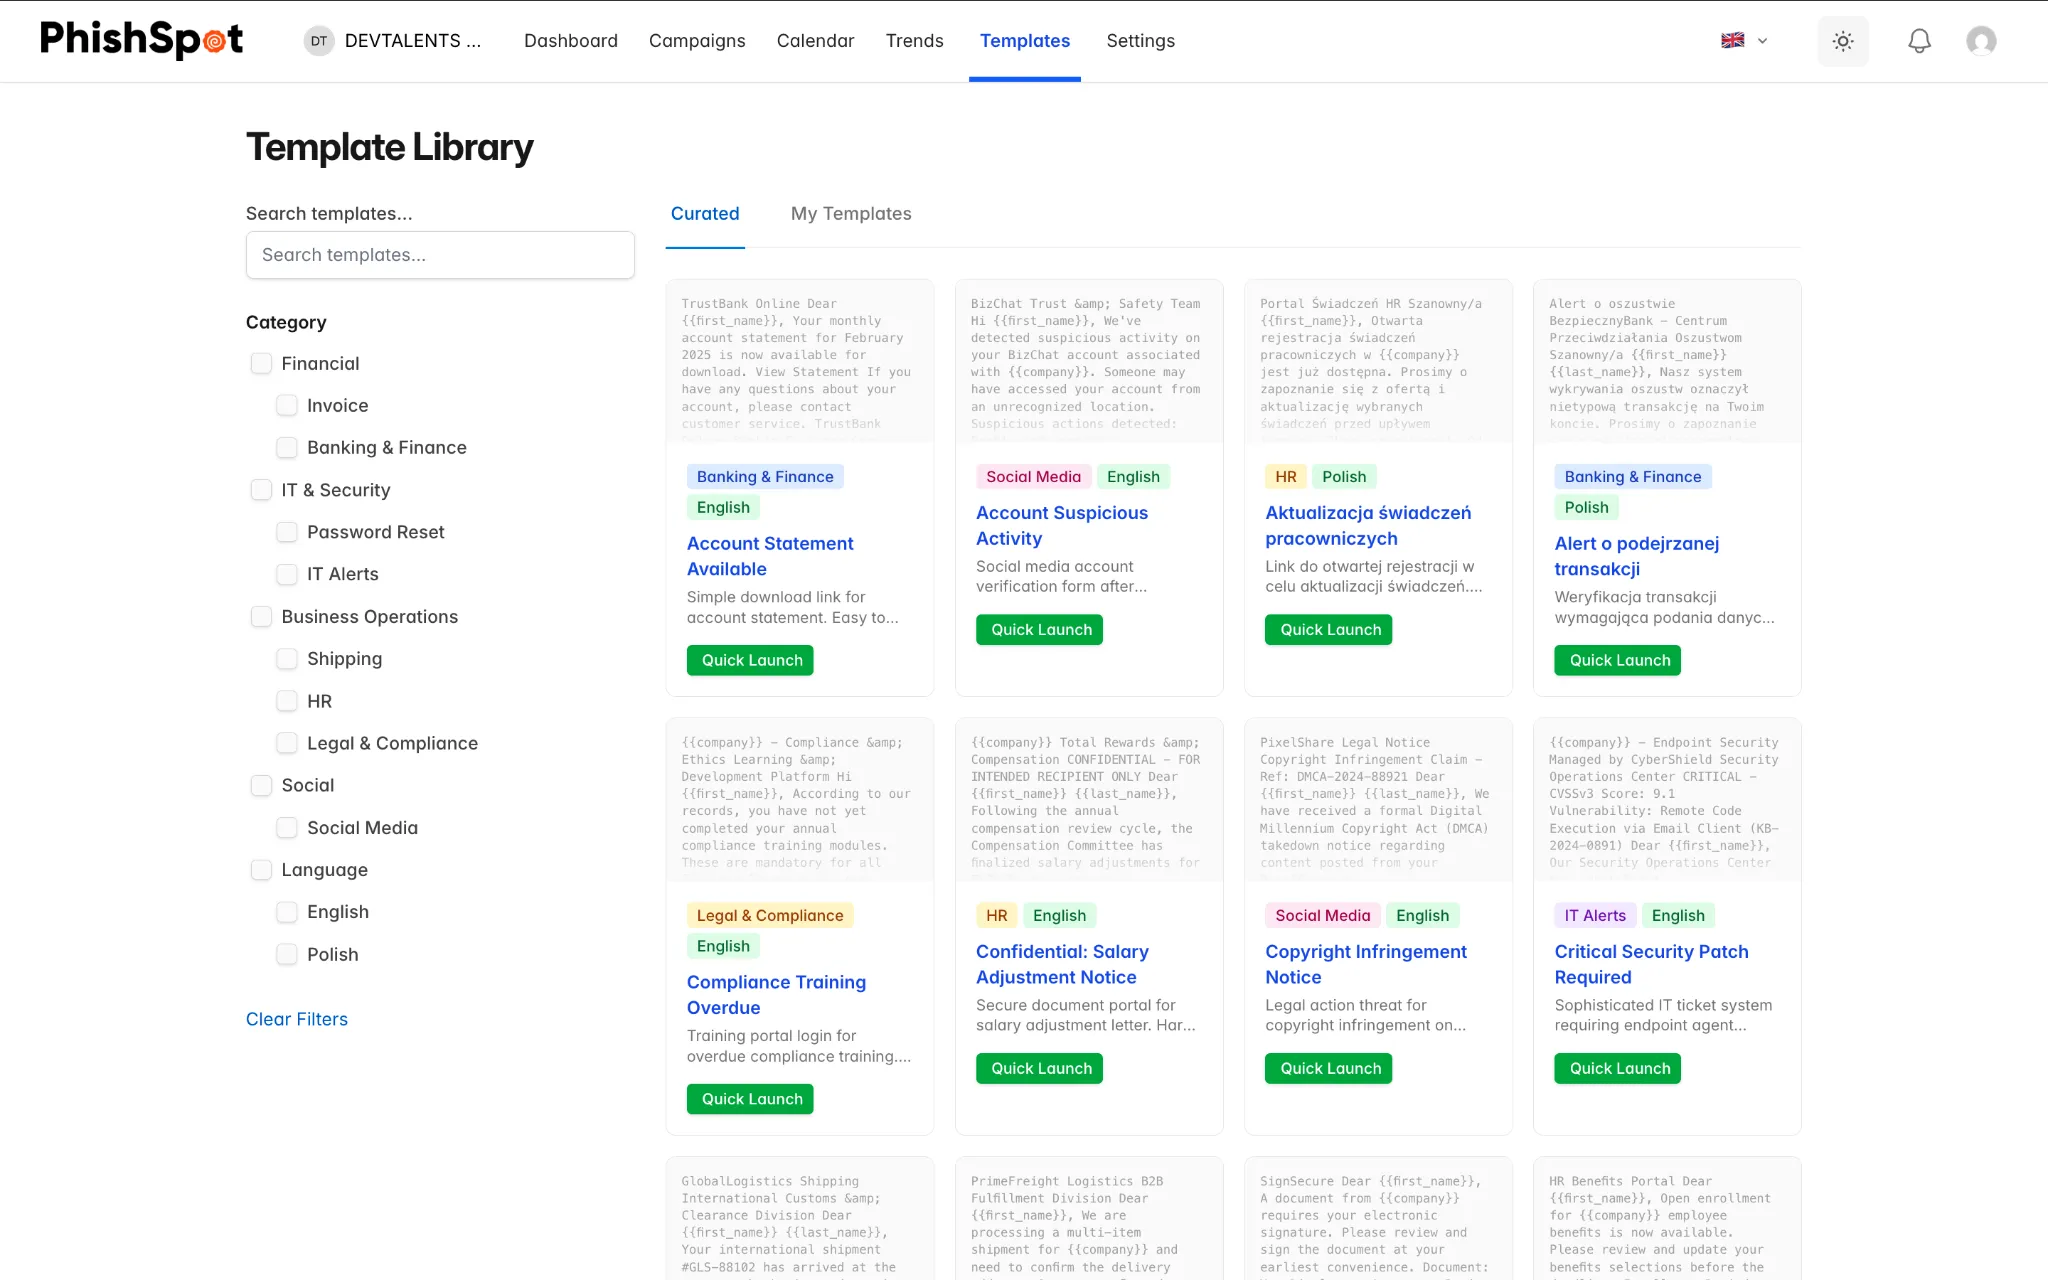
Over 10,431 ready scenarios
English and Polish scenarios in a clear category tree. Use one as-is or make it your starting point.
Live HTML editor & merge tags
Full control over the email and landing page, a live preview, and merge tags like {{first_name}} for personalization.
Delivery modes
Send immediately, schedule for later, or stagger delivery so messages arrive naturally rather than in one wave.
Test sends
Send a sample to yourself and the team before launch to check rendering and deliverability.
Post-click actions
Choose per campaign: a training course, awareness page, redirect, message page, or nothing at all.
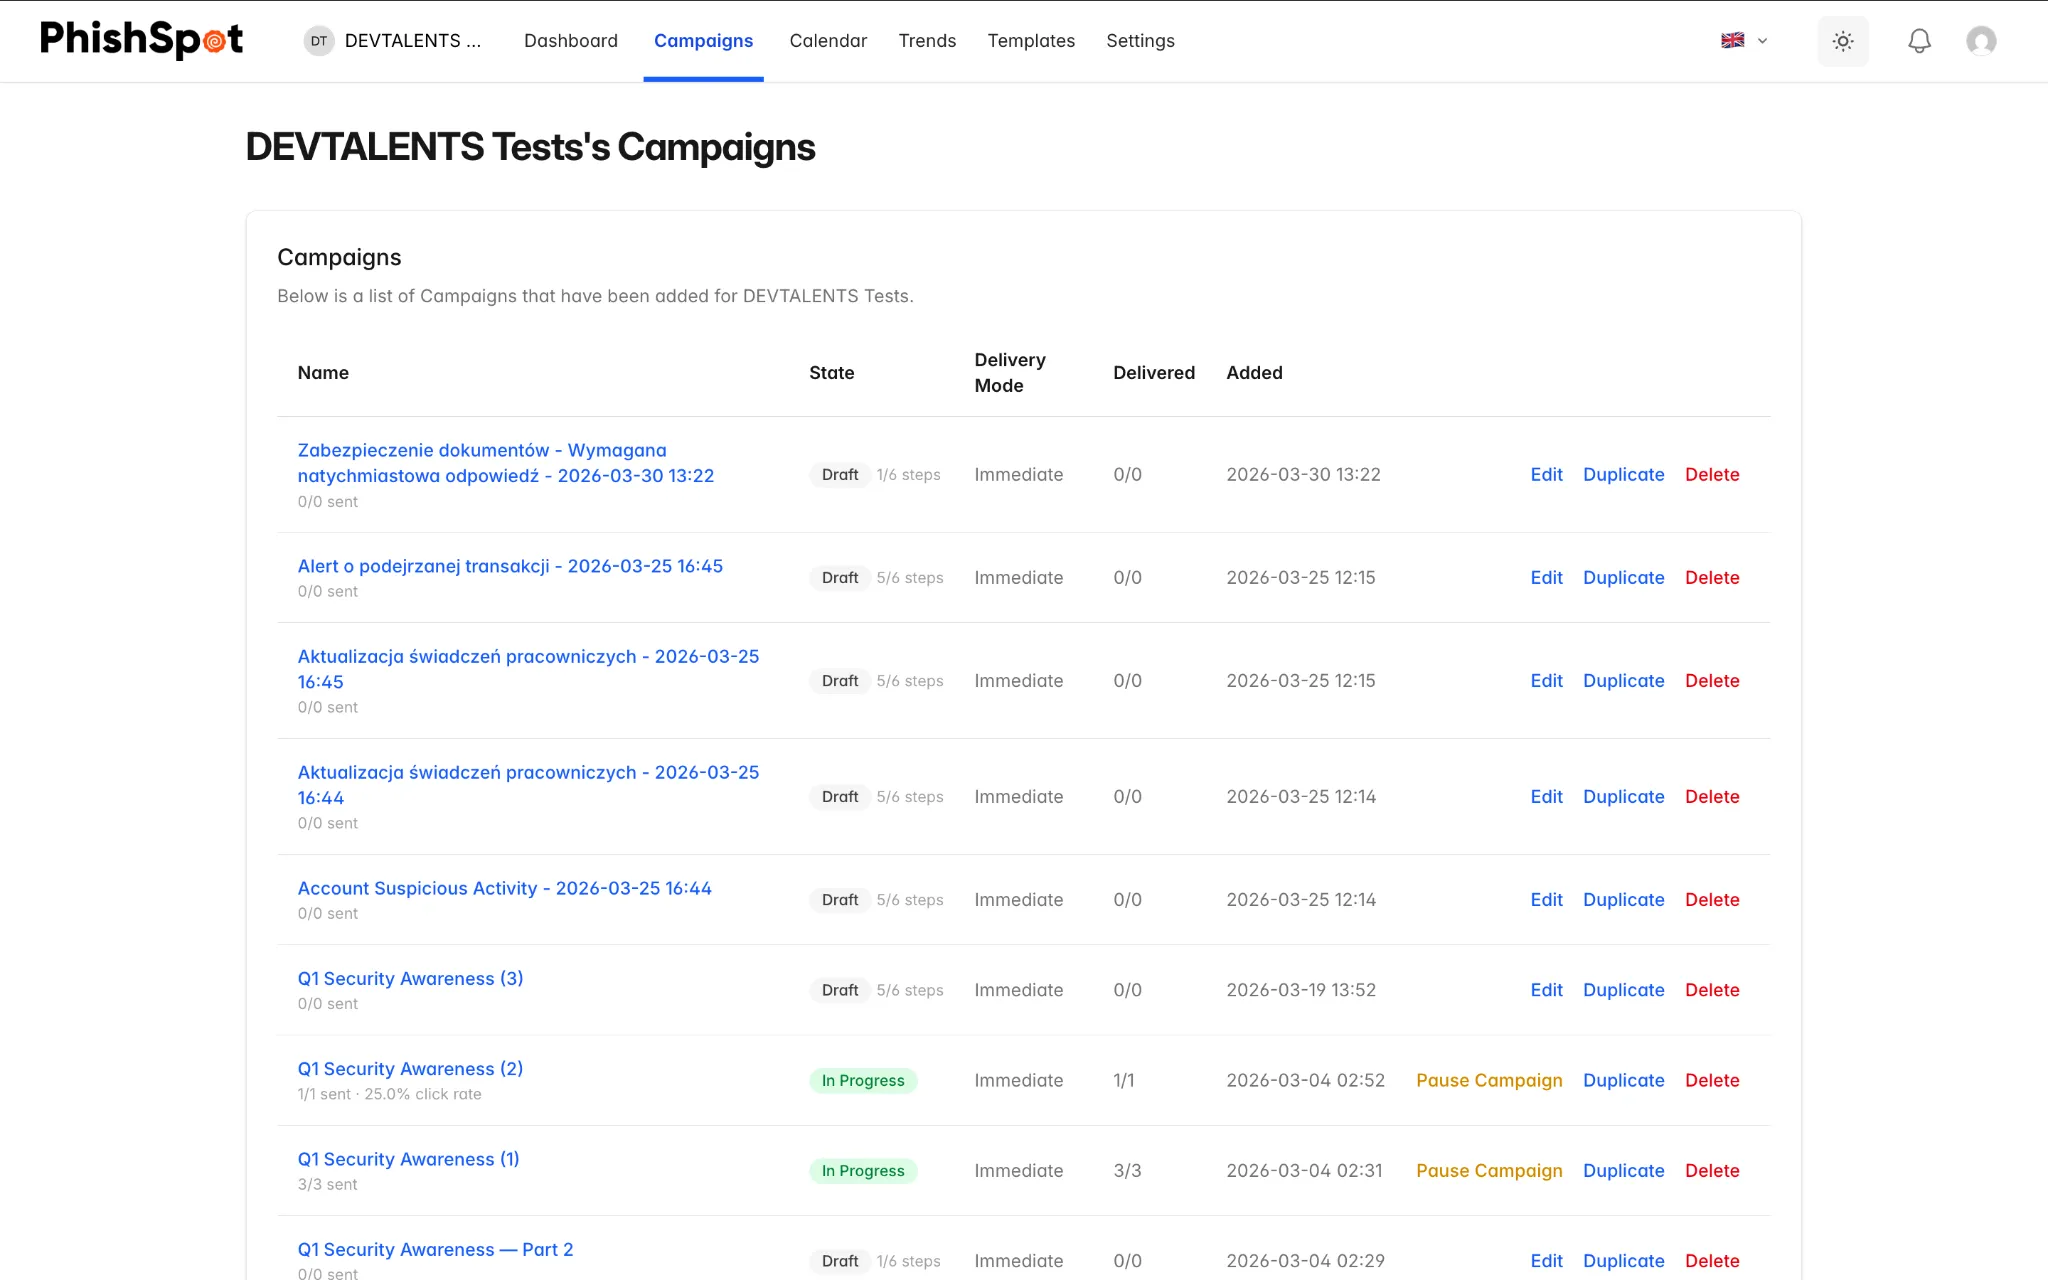
Build, preview, launch
Every campaign in one view — drafts, scheduled and finished. Build a campaign, preview exactly what the recipient will see, and launch when it’s ready.
- Preview before you send — the email and landing page rendered just as the recipient will see them.
- Duplicate and fork — copy a working campaign and change only what you need.
- Save as template — turn any campaign your team builds into a reusable starting point.
Six steps from idea to send
The same predictable flow every time — nothing surprises you right before launch.
- 01
Settings
Name the campaign, pick the sending domain and sender, and set up tracking.
- 02
Email content
Start from a template or blank HTML, add merge tags, and preview the render.
- 03
Landing page
Attach the landing page the link points to — full HTML control with a live preview.
- 04
Post-click action
Choose a course, awareness page, redirect, message page, or nothing.
- 05
Recipients
Pick the contacts and groups that should receive the simulation.
- 06
Review & launch
Check everything on one screen, send a test, and launch the campaign.
What teams ask about simulations
Do I need to know HTML?
No. Start from one of the ready-to-use scenarios and send it as-is. When you want to fine-tune, the live HTML editor is there — with a preview of exactly what the recipient will see.
How do I know the email looks right before sending?
The preview renders the email and landing page exactly as the recipient will see them, and a test send delivers a sample to you and the team — so you check the render and deliverability before launch.
What happens after someone clicks?
You choose the post-click action per campaign: a training course, awareness page, redirect, message page, or nothing. No blame — most teams keep it purely educational.
Can I spread the send out over time?
Yes. You choose the delivery mode: immediate, scheduled for a specific time, or staggered so arrivals in inboxes look natural rather than one mass wave.
Build your first simulation
Book a demo and we’ll build a live campaign with you for a test group. Or start a free trial and explore the builder at your own pace.